We’ve successfully executed the first two lessons: we built the Local Node for awareness and engineered Habit through data-driven loyalty. You now have customers choosing your store out of routine. Great.
But what good is high frequency if the transaction value is low? Now we turn to the crucial opportunity that directly impacts your profit margin: Lesson 3, Engineering the Impulse Moment.
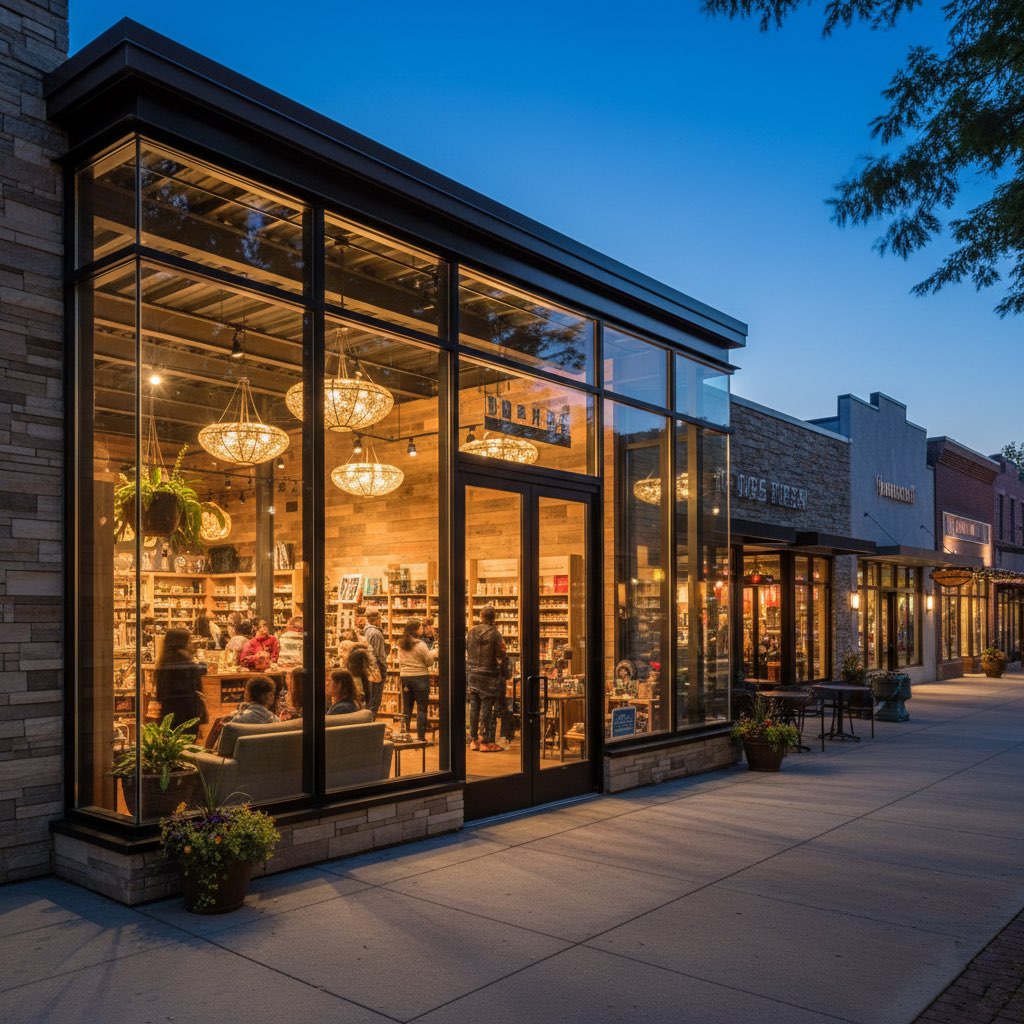
The average U.S. convenience store basket size sits at around $7.34. The upsell potential is a highly accessible 15%. This means that for every 1,000 transactions, you are leaving $1,100 on the table if you haven’t optimized your store for impulse. C-store visits happen frequently and last for a short time. Therefore, your store’s layout must minimize friction. It should cue the customer toward an impulse purchase. This post, Part A, focuses on the passive, physical sales funnel: your visual merchandising.
Engineering the Impulse Moment
Two areas in your store are the most critical for converting browsing into buying: the checkout and the ends of aisles.
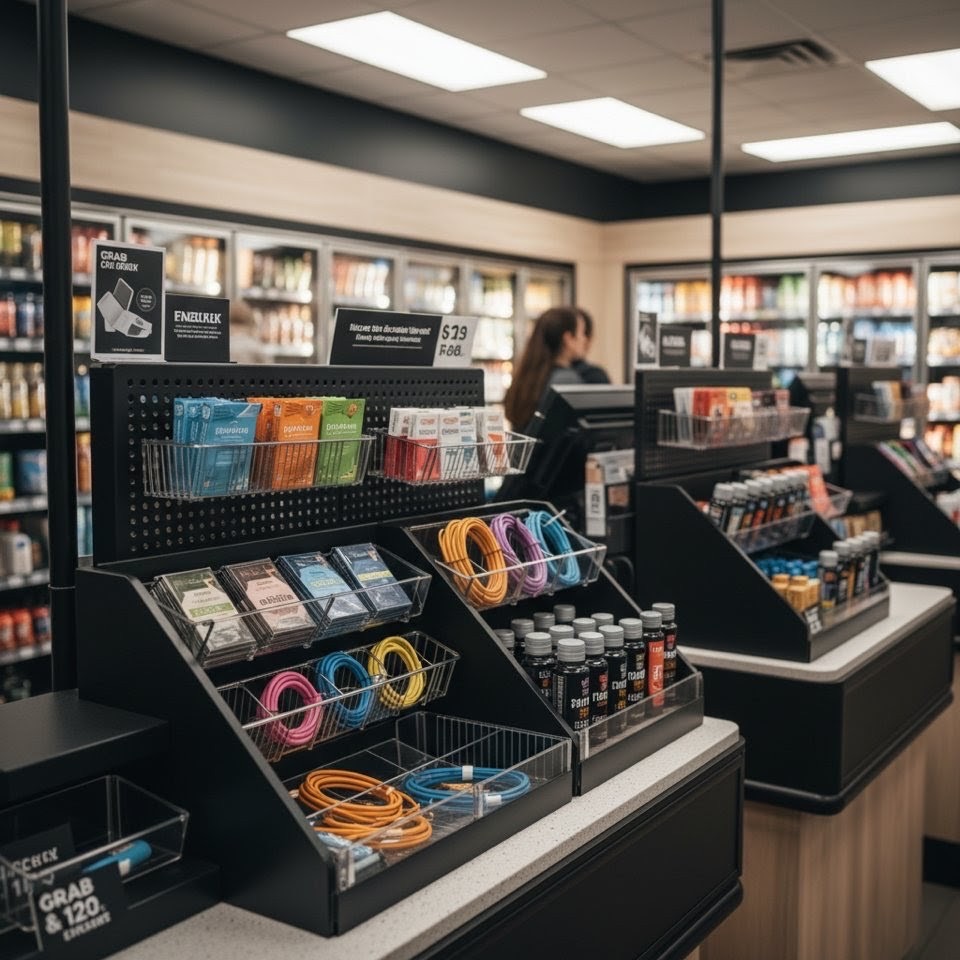
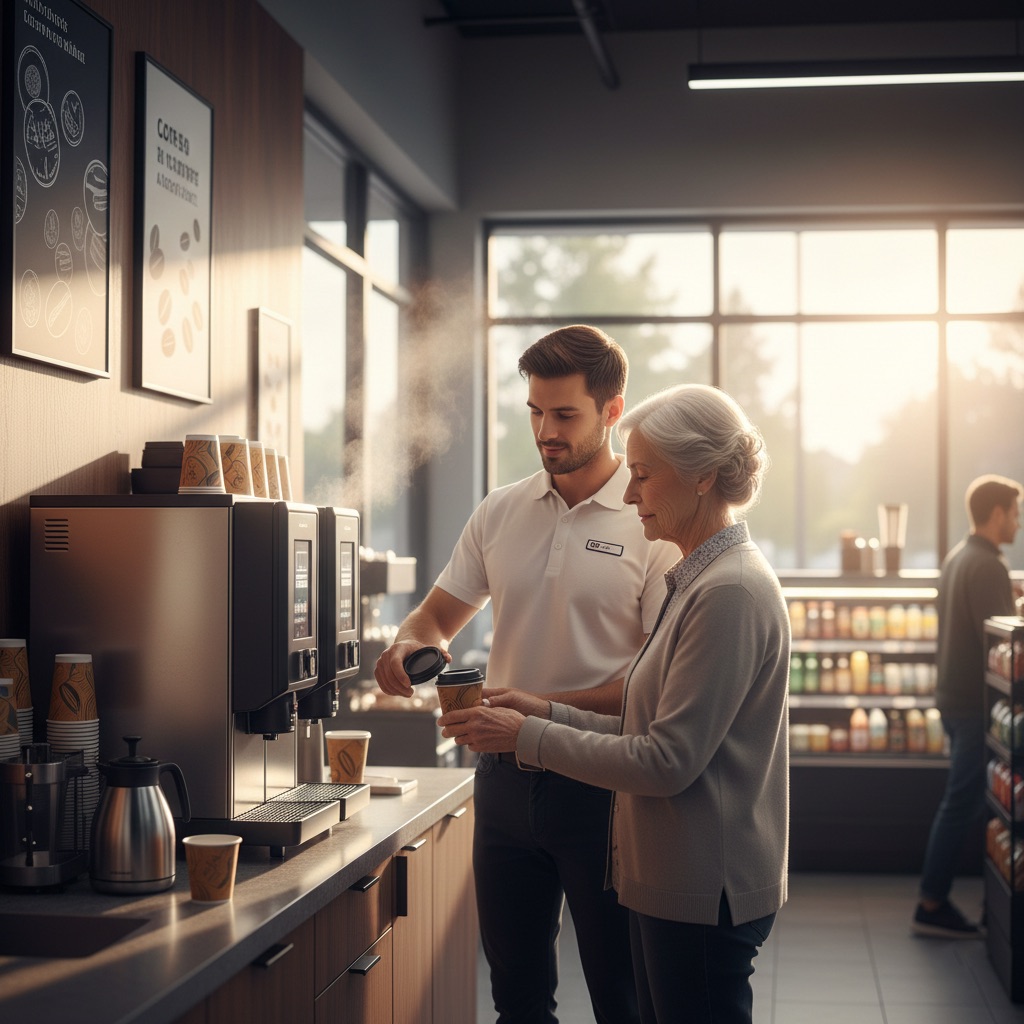
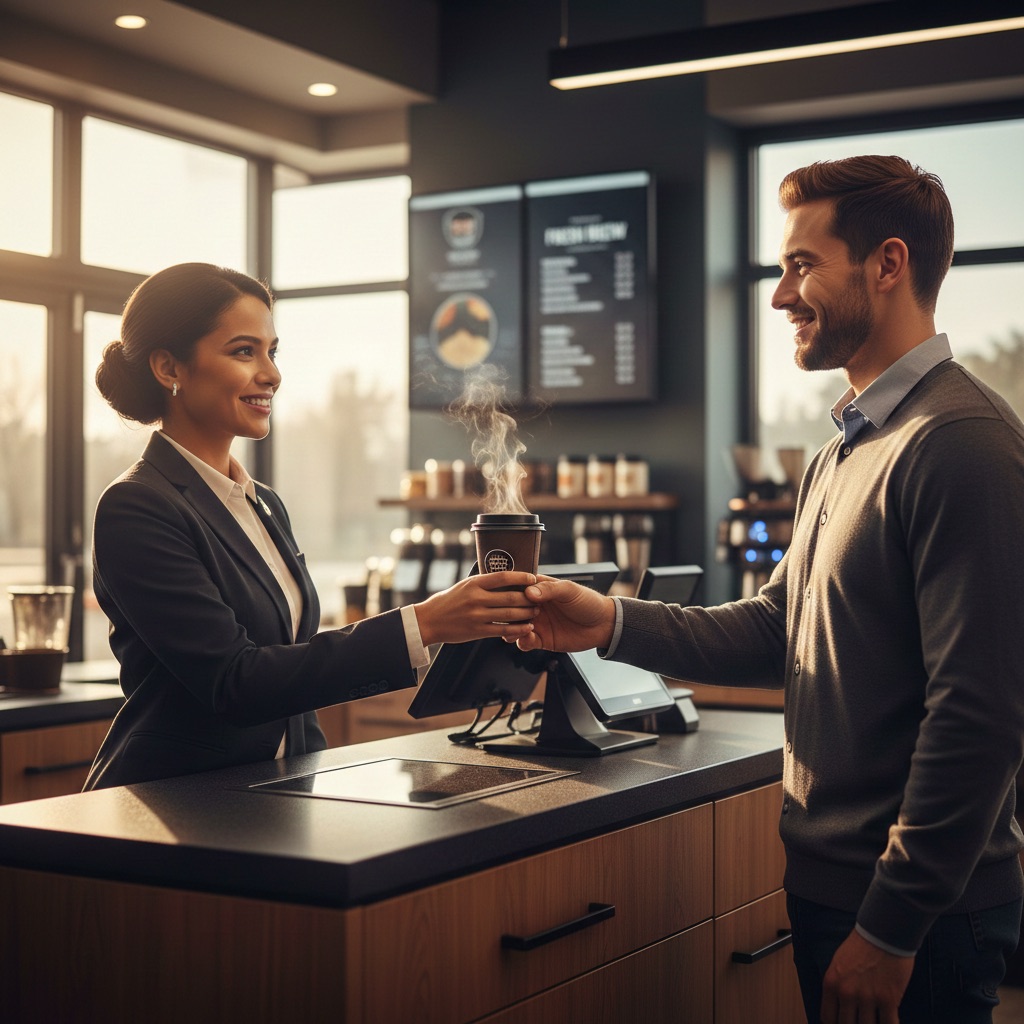
- The Checkout Counter is the Ultimate Impulse Zone: Customers here are already committed to buying. Capitalize on their commitment by displaying small, high-appeal, low-cost items. Ideal items include gum, candy, phone chargers, or travel-sized health and beauty products. Use sleek, freestanding endcaps or small baskets to showcase these items without looking cluttered.
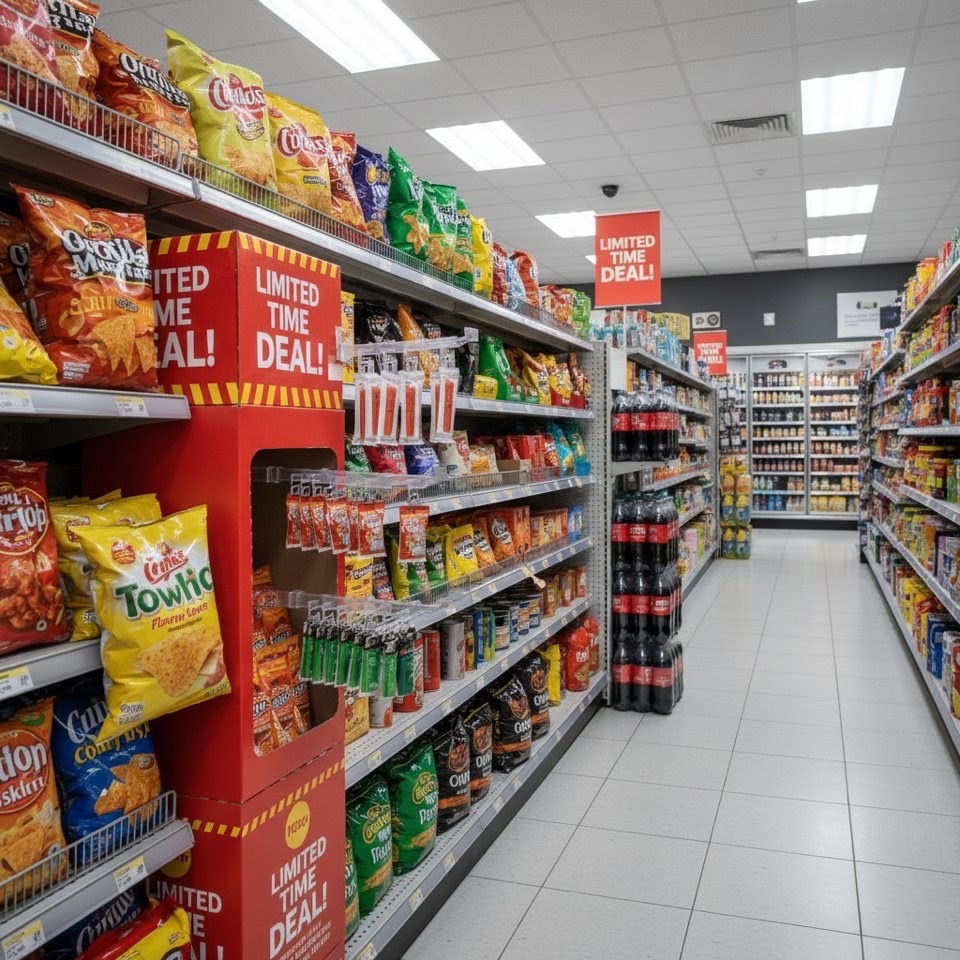
- Dump Bins and Endcaps: These fixtures are perfect for boosting impulse buys at the ends of aisles. Fill them with low-cost, high-appeal products or items with limited-time deals. Dump bins, in particular, signal a quick, easy purchase decision.
Cross-Merchandising: Solving Unstated Needs
Effective merchandising is about anticipating the customer’s total need, not just the single item they came for. This is where cross-merchandising becomes your powerful tool: placing complementary items near top-sellers.
- Relevance is Key: Use simple clip strips, those plastic strips that hang off shelves, to display snack foods directly next to beer or complementary accessories (e.g., lighter fluid) near the charcoal.
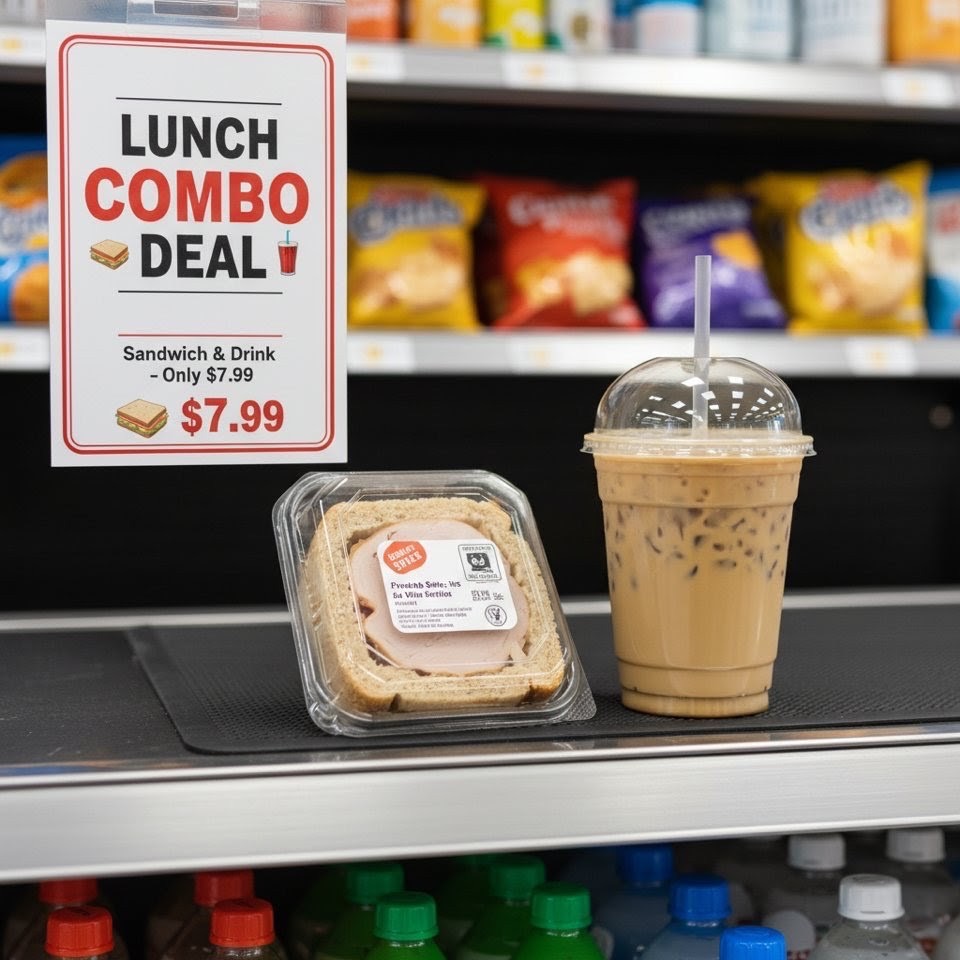
- Meal Combos and Bundle Deals: Use signage to promote meal solutions. For example, place a high-margin cold beverage next to a grab-and-go sandwich with a sign advertising a “Lunch Combo Deal”. Focused promotions tied to meal solutions are highly effective in boosting basket value.
What You Should Be Doing
To audit and optimize your store for passive impulse sales, take these immediate actions:
- Audit Your Checkout Counter: Remove any non-impulse, low-margin clutter. Ensure the items there are small, high-margin, and highly appealing (e.g., gum, premium energy shots, phone cables).
- Re-organize “Buy-Level” Placement: Walk your aisles and physically move your highest-margin snack, candy, and beverage items to the eye-level shelves on your gondolas. Use the lower shelves for staples.
- Implement Clip Strips: Purchase a batch of clip strips and immediately implement three strategic cross-merchandising pairings in high-traffic aisles. Track sales for those paired items for two weeks.
- Enhance Signage: Upgrade to clear, eye-catching, professional signage that highlights limited-time deals and price combos. Consistent, professional signage makes your store feel more organized and trustworthy, comparable to a large chain.
The Bottom line: The Stage Is Set
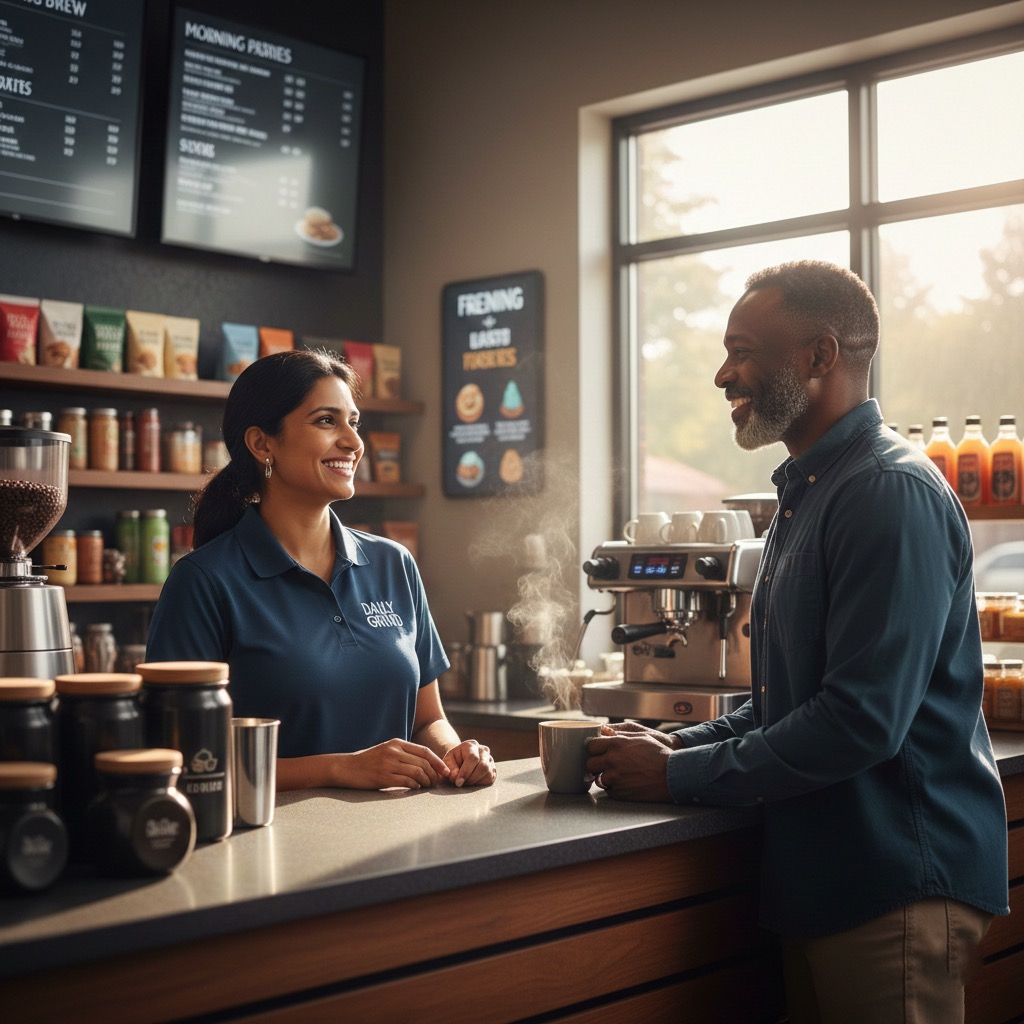
You’ve set the stage. The store layout is now working as your silent salesperson, guiding customers toward profitable, unplanned purchases. But a store full of perfect displays can still fail if the human interaction falls short. The physical cues handle the passive upsell, but only your staff can actively convert the remaining 15% upsell opportunity into realized profit.
In our next post, we will tackle Lesson 3, Part B: Training for Trust, Turning Your Staff into Cross-Selling Relationship Marketers. We will cover the simple, non-aggressive techniques that empower your team to be brand ambassadors who effortlessly drive basket size.


Leave a comment